Embedded Development Board Learning
Visual Studio Code for ARM with CMake #7 Cortex Debug
Date: febrero 27, 2023
Author: Guillermo Garcia
Categories: Visual Studio Code Tags: Development tools
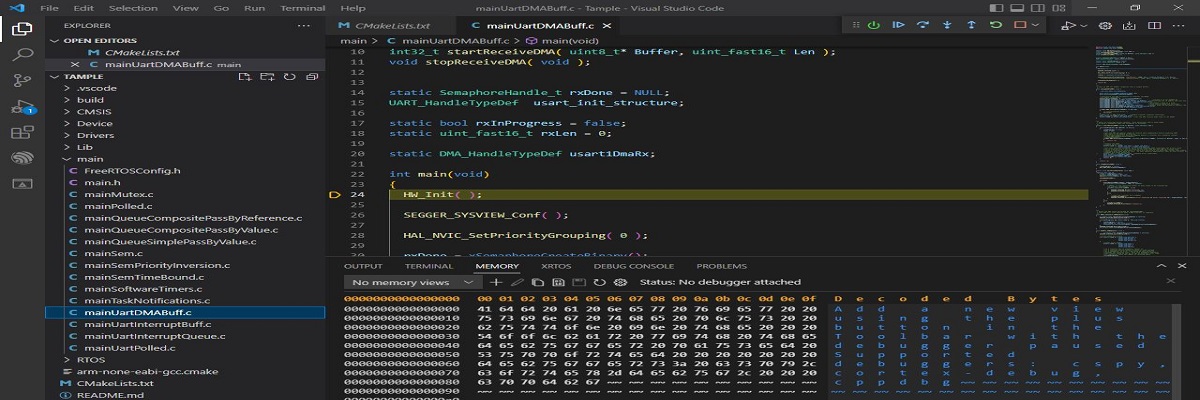
In the previous article, Visual Studio Code for ARM with CMake #6 IntelliSense, we created the configuration file for the IntelliSense extension. In this article, we will set up the necessary configuration to debug our NUCLEO-G071RB board.
Table of Contents
Cortex Debug
Let’s start by explaining why it is necessary to use Cortex Debug.
Visual Studio Code is a code editor, not an IDE. However, it includes a debugging interface for debugging code in different languages.
This extension adds capabilities to debug ARM Cortex-M devices. The built-in debugging adapter in Visual Studio Code provides a set of graphical functions, such as buttons for controlling the debugging process. However, the adapter is not capable of fully managing the compilation process.
An additional interface between the Visual Studio Code adapter and our J-Link debugging hardware is necessary. This is where the extension comes in.
GDB
GDB is the standard debugger for the GNU compiler. A debugger is a programming tool that allows us to detect and correct runtime and logical errors.
GDBServer is a program that manages the debugging process and is developed by device vendors. In our case, we will use JLinkGDBServer.
The following image, taken from the extension‘s documentation, shows the process flow that the extension performs to make ARM device debugging compatible.

The extension needs to know certain parameters before launching GDBServer, such as the type of hardware to be debugged and the name of the ELF file used for debugging.
These parameters are defined in a configuration file called launch.json. And yes, you guessed it, this file is located in the .vscode directory.
launch.json
In this file, we will set the necessary parameters for the extension to communicate with our board and begin the debugging process.
Let’s create the launch.json file.
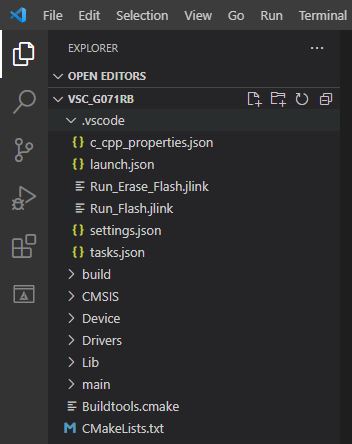
The structure and content of the configuration file is detailed in the extension documentation, let’s look at the most important parameters.
{
  "version": "0.2.0",
  "configurations": [
      {
          "name": "Cortex Debug",
          "cwd": "${workspaceRoot}",
          "executable": "./build/${config:SetNameExecuteBuildFile}.elf",
          "request": "launch",
          "type": "cortex-debug",
          "servertype": "jlink",
          "device": "${config:SetDeviceARM}",

          "interface": "swd",
          "serverpath": "${config:SetPathJlinkGDB}",
          "armToolchainPath": "${config:SetPathToolchainARM}",
          "svdFile": "${workspaceRoot}/Device/svd/STM32G071.svd",
          "debuggerArgs": [
              "-iex","set auto-load safe-path /",
          ],
          "runToEntryPoint": "main",
          "rttConfig": {
            "enabled": true,
            "address": "auto",
            "decoders": [
                {
                    "port": 0,
                    "type": "console"
                }
            ]
        }
      }
  ]
}
Notice that we are using variables defined in the settings.json configuration file, which we created in the article Visual Studio Code for ARM with CMake #5 VSC Tasks.
- executable : Defines the ELF executable file.
- servertype : The debugger we use J-Link.
- device : our MCU STM32G071RB.
- serverpath : The path where the JLinkGDBServerCL.exe executable file is located.
- svdFile : The svd file containing the description of the MCU peripherals
Debugging
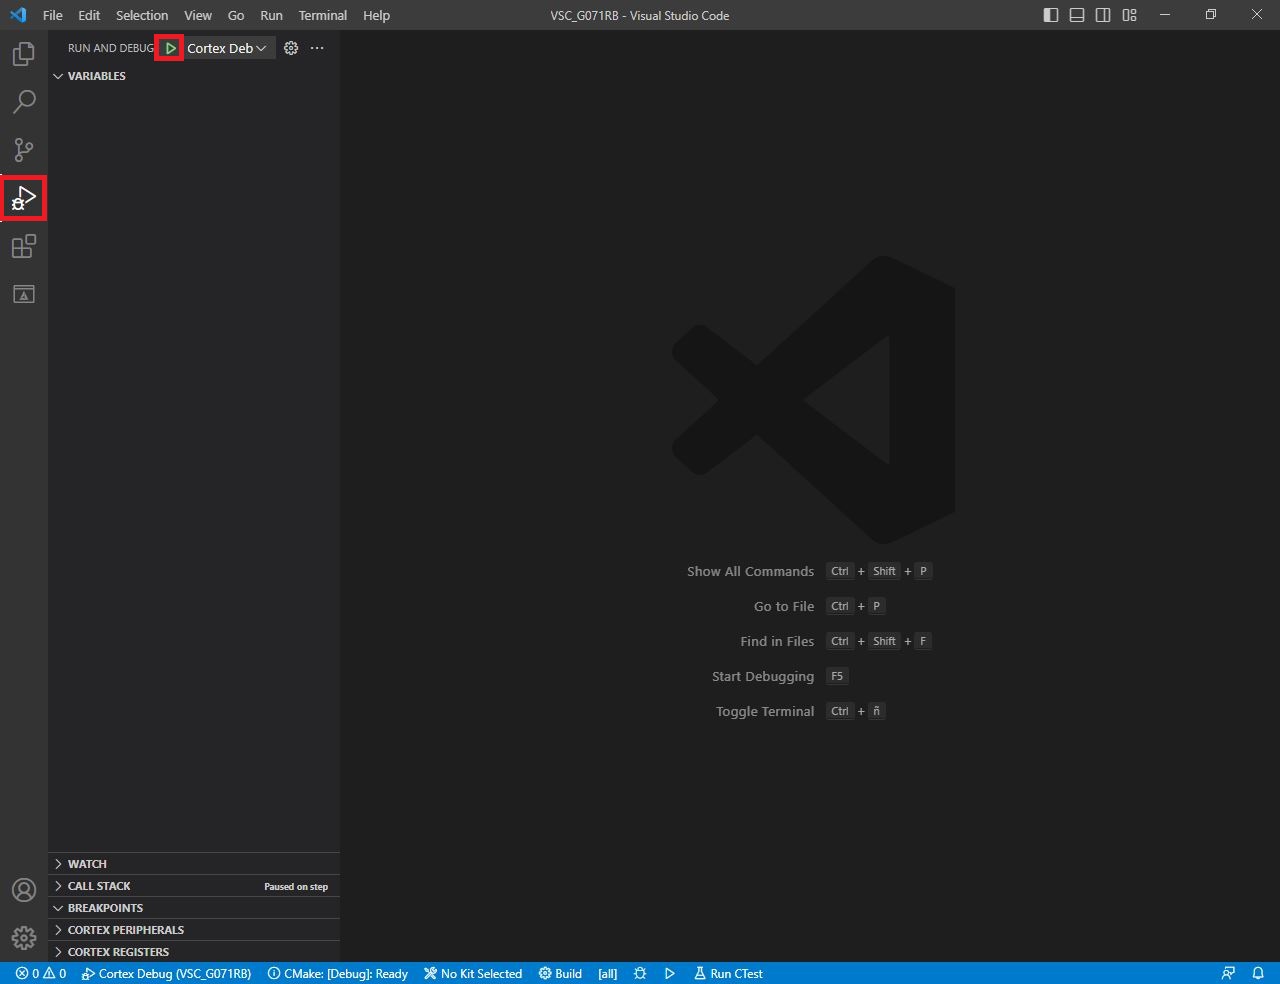
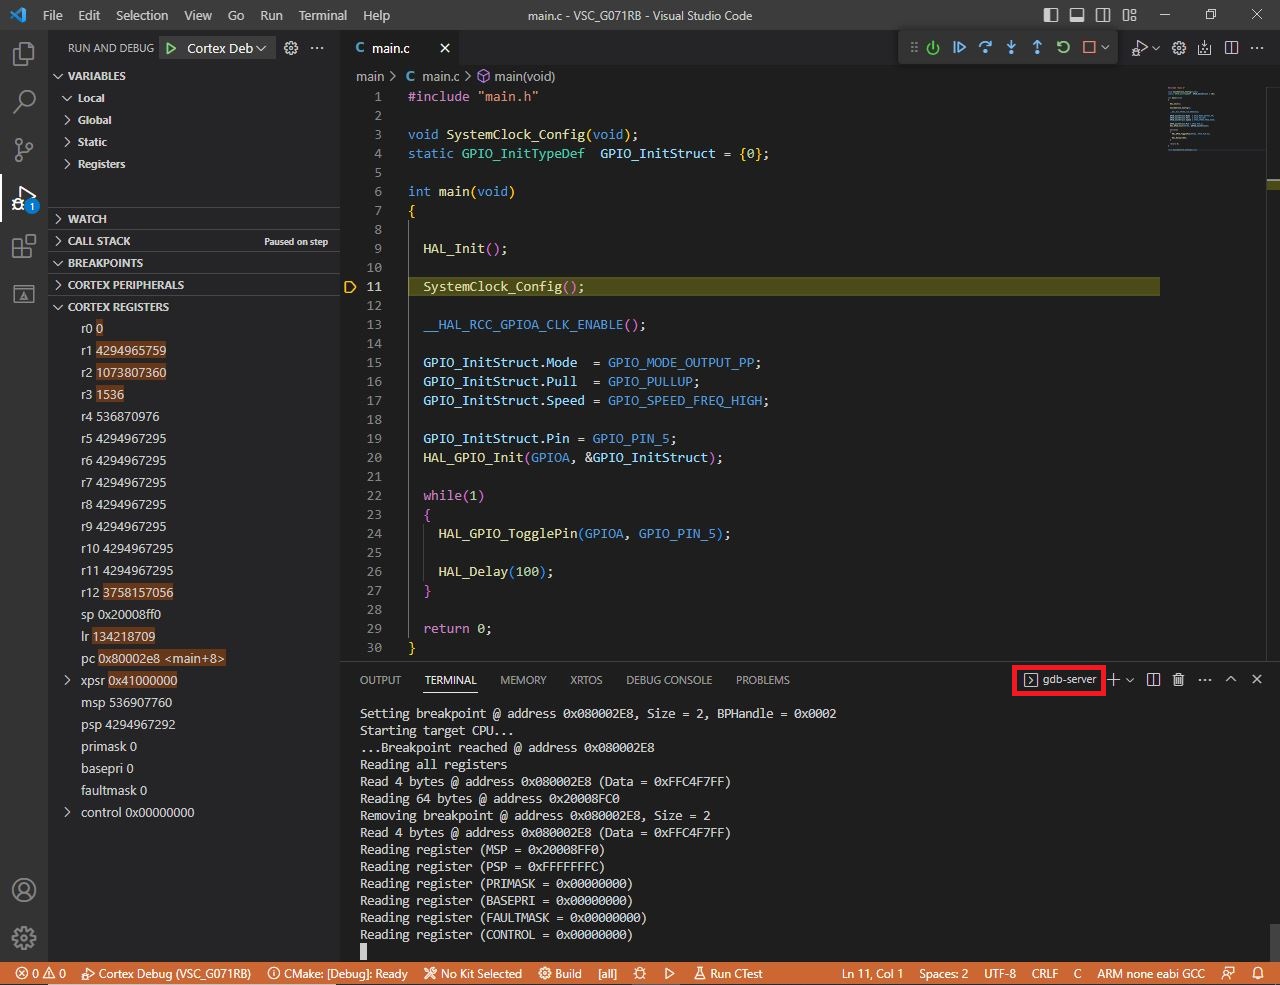
It’s the expected moment, let’s try the debugging, go to the debugging section, we can start the debugging in the green button.
At the top we can see the bar to manipulate the debugging or stop the process.
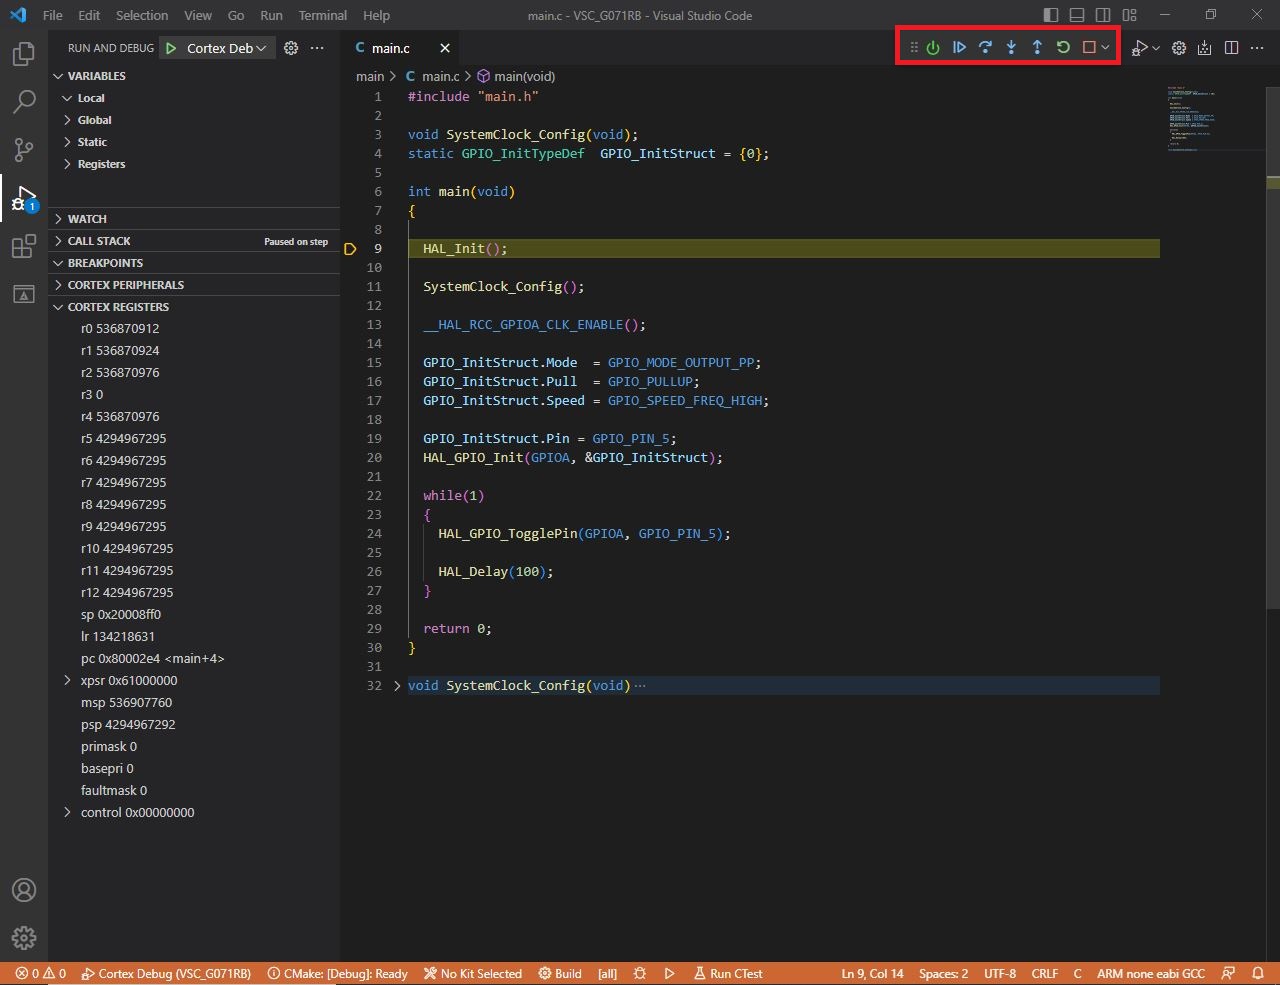
In the terminal we see the response from gdbserver.

Deja una respuesta