Embedded Development Board Learning
Visual Studio Code for ARM with CMake #5 VSC Tasks
Date: febrero 13, 2023
Author: Guillermo Garcia
Categories: Visual Studio Code Tags: Development tools
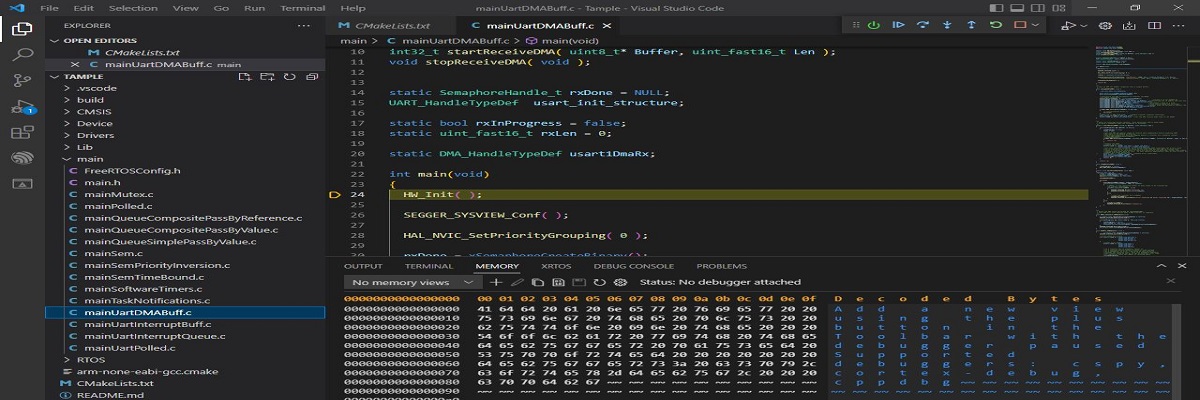
In the previous article, Visual Studio Code for ARM with CMake #4 J-Link, we performed the firmware conversion to J-Link on our NUCLEO-G071RB board.
Additionally, we created J-Link commander files with the necessary commands to program the board using the J-Link debugger.
In this article, we will create Visual Studio Code tasks (VSC Tasks) to execute these commands. This will allow us to compile, program the executable file, and erase the flash memory on our board.
Table of Contents
Configuration file
Some configurations in Visual Studio Code are still necessary before creating the tasks, so we will create a configuration file.
Why do we need this file? Visual Studio Code has two types of configuration:
- User settings: Applied to the entire environment, affecting the graphical interface and functional behavior.
- Workspace settings: Specific to a project; this configuration is only applied when the workspace is open.
It is important to know that the Workspace settings in a specific project override the User settings.
In order for Visual Studio Code to apply the desired settings in a specific project, it is necessary to define a file with these characteristics called settings.json in the .vscode directory within our project.
settings.json
We create the file and review the contents of the .vscode directory:
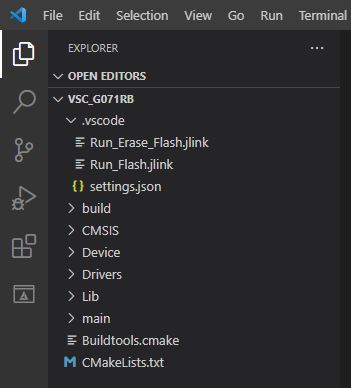
We are going to declare some variables to store our hardware and build tools data in the settings.json file so that we don’t have to change them in different files if we want to switch to another hardware.
{
    "cmake.configureOnOpen": false,
    "SetNameExecuteBuildFile": "VSC_G071RB",
    "SetDeviceARM": "STM32G071RB",
    "SetPathToolchainARM": "C:/Program Files (x86)/GNU Arm Embedded Toolchain/10 2021.10/bin",
    "SetPathJlinkGDB": "C:/Program Files/SEGGER/JLink/JLinkGDBServerCL.exe",
    "files.associations": {
        "stm32g0xx_it.h": "c",
        "main.h": "c",
        "stm32g0xx_hal.h": "c",
        "stm32g071xx.h": "c"
    }
}
SetNameExecuteBuildFile : Contains the name of our executable file without the extension.
SetDeviceARM : Contains the hardware we use to enable J-Link to identify you.
SetPathToolchainARM : The path where the GCC compiler was installed
SetPathJlinkGDB : The path where the SEGGER software was installed and the specified executable JLinkGDBServerCL.exe.
VSC tasks
Visual Studio Code provides task functionality to extend the integration of external tools that automate processes using the command line.
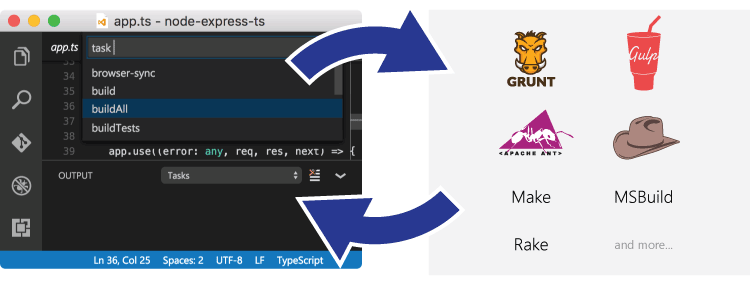
Tasks in Visual Studio Code can be configured to run scripts and start processes so that many existing external tools can be used from within Visual Studio Code.
We are going to create a series of tasks to start processes using the command line. Let’s review the commands we have used throughout the series.
CMake Init Buid
Initializes the configuration process.
CMake Build
Initializes the compilation process.
CMake Clear and Build
This command cleans up the build directory and starts the build process.
J-Link Flash
Download the executable file to the MCU.
J-Link Erase Flash
Erase all flash memory on the MCU.
tasks.json
The VSC tasks specific to a project are configured from a file called tasks.json in the .vscode directory.
We create the tasks.json file in the .vscode directory, we will create five tasks that execute the processes shown above from the command line.
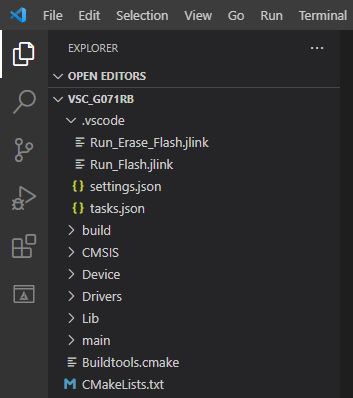
We added the instructions to indicate that it should start a cmd.exe console and then we placed the tasks.
{
    "version": "2.0.0",
    "windows": {
        "options": {
            "shell": {
                "executable": "cmd.exe",
                "args": [
                    "/d", "/c"
                ]
            }
        }
    },
    "tasks": [
        {
            "type": "shell",
            "label": "Run Build",
            "command": "cmake --build .",
            "options": {
                "cwd": "${workspaceFolder}/build"
            },
            "group": {
                "kind": "build",
                "isDefault": true
            },
            "problemMatcher": {
                "base": "$gcc",
                "fileLocation": ["relative", "${workspaceFolder}/build"]
            }
        },
        {
            "type": "shell",
            "label": "Run Clean & Build",
            "command": "cmake --build . --clean-first",
            "options": {
                "cwd": "${workspaceFolder}/build"
            },
            "group": "build",
            "problemMatcher": {
                "base": "$gcc",
                "fileLocation": ["relative", "${workspaceFolder}/build"]
            }
        },
        {
            "type": "shell",
            "label": "Run Init make",
            "command": "cmake -DCMAKE_MAKE_PROGRAM=make.exe -G \"Unix Makefiles\" ..",
            "options": {
                "cwd": "${workspaceFolder}/build"
            },
            "group": "build",
            "problemMatcher": {
                "base": "$gcc",
                "fileLocation": ["relative", "${workspaceFolder}/build"]
            }
        },
        {
            "type": "shell",
            "label": "Run Flash",
            "command": "JLink.exe -device ${config:SetDeviceARM} -CommandFile ${workspaceFolder}/.vscode/Run_Flash.jlink",
            "group": "build",
            "problemMatcher": {
                "base": "$gcc",
                "fileLocation": ["relative", "${workspaceFolder}/.vscode"]
            }
        },
        {
            "type": "shell",
            "label": "Run Erase Flash",
            "command": "JLink.exe -device ${config:SetDeviceARM} -CommandFile ${workspaceFolder}/.vscode/Run_Erase_Flash.jlink",
            "group": "build",
            "problemMatcher": {
                "base": "$gcc",
                "fileLocation": ["relative", "${workspaceFolder}/.vscode"]
            }
        }
    ]
}
The most important arguments when creating a task are:
label : It is the name with which said task is identified.
command : The instructions that are executed on the command line.
Let’s recall the variables that were defined in the settings.json file, we are going to access their value with the statement ${config:SetDeviceARM}.
Run Task
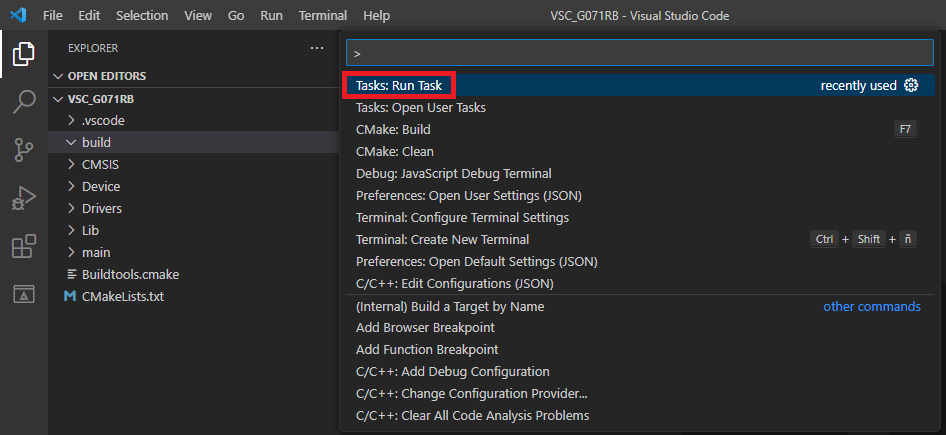
Now with this configuration it is only a matter of executing the desired task for the process to be carried out. To access command control using Show All commands Ctrl + Shift + P
We select Tasks: Run Task
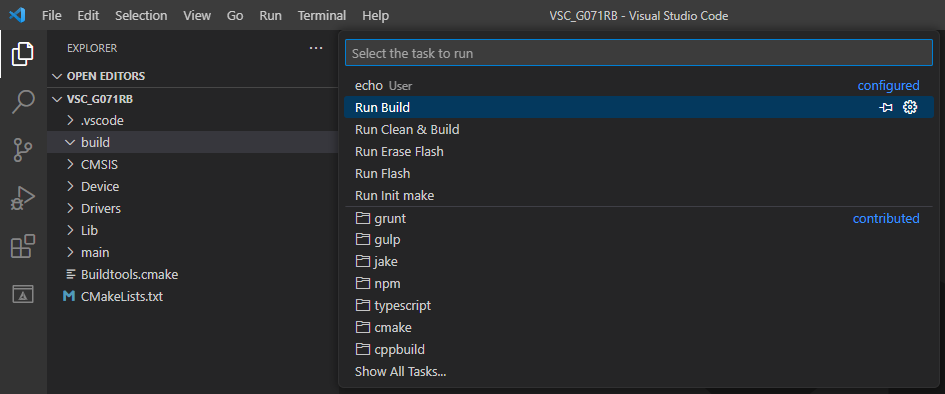
All tasks created in this are displayed. Workspace.
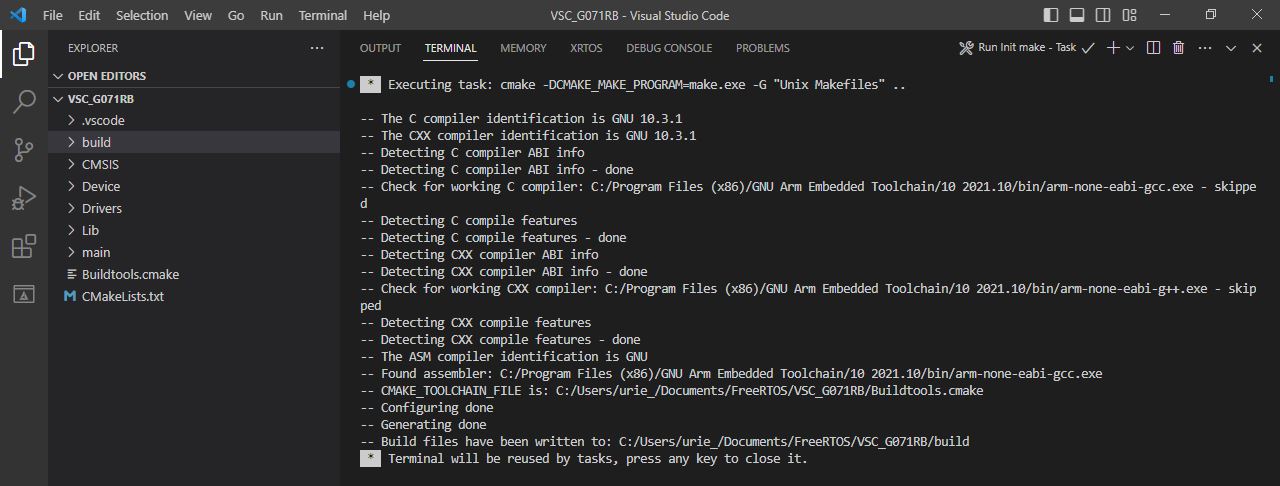
To test all the processes we delete the contents of the directory build.
- Run Init make
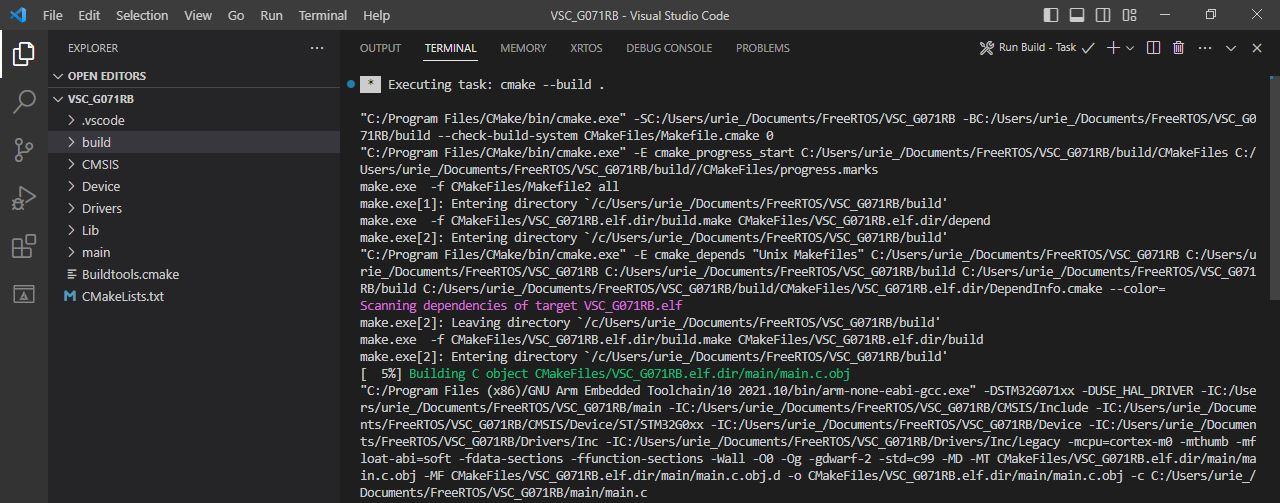
- Run Build
- Run Erase Flash
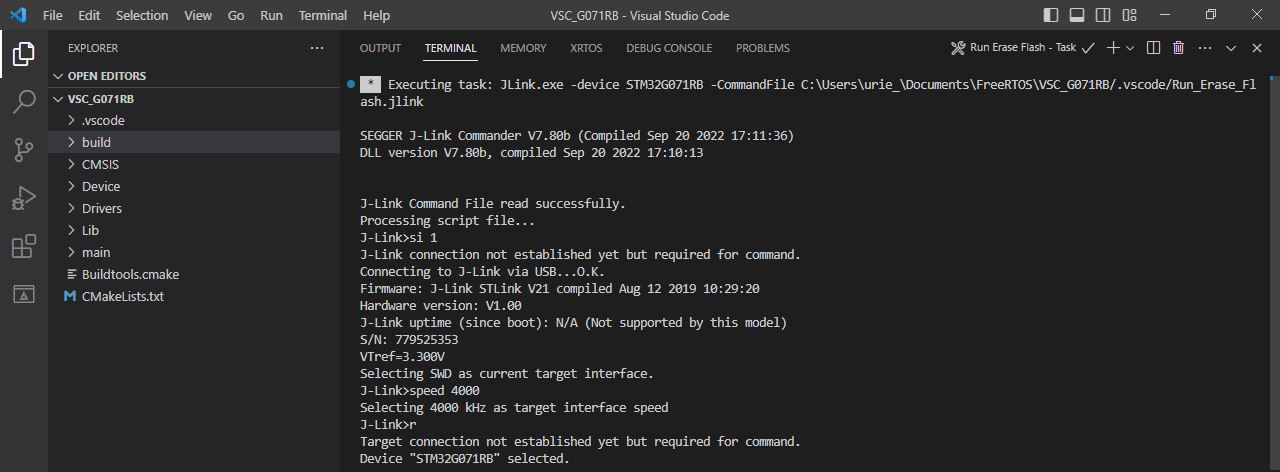
- Run flash
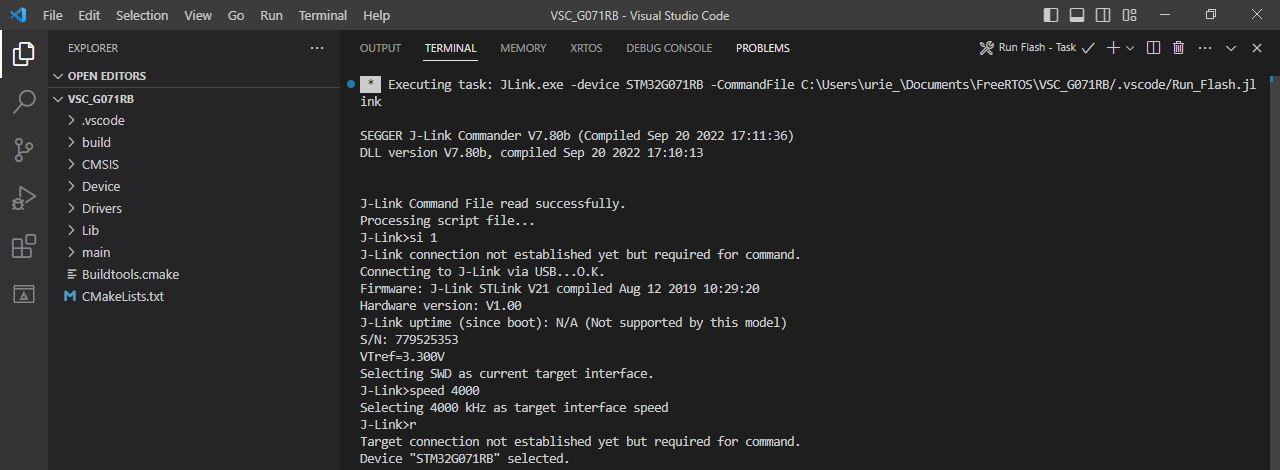
We check the operation of the tasks now we can compile, erase the flash memory and download our executable file to the NUCLEO-G071RB board in a more automated way thanks to the Visual Studio Code tasks.

Deja una respuesta